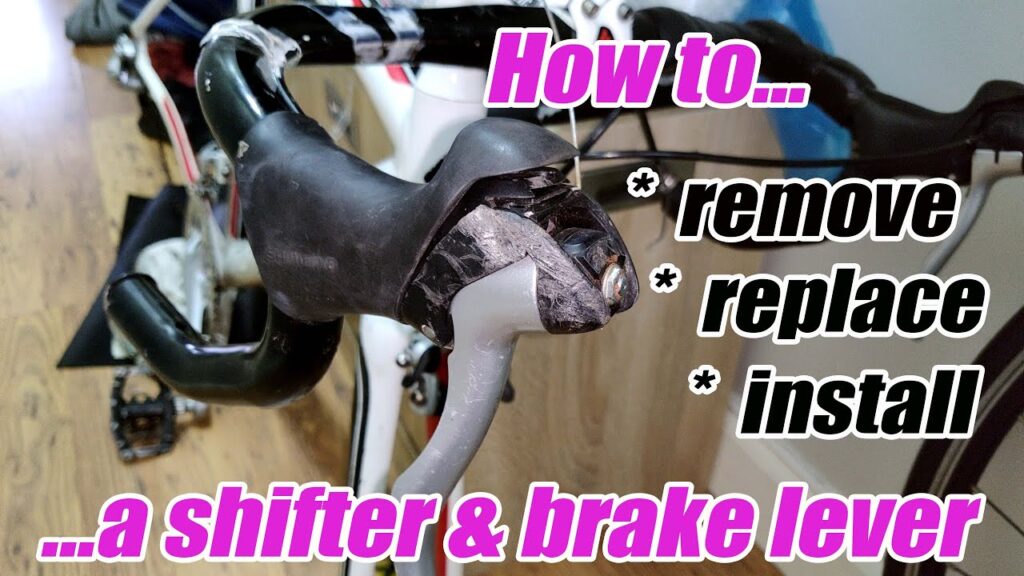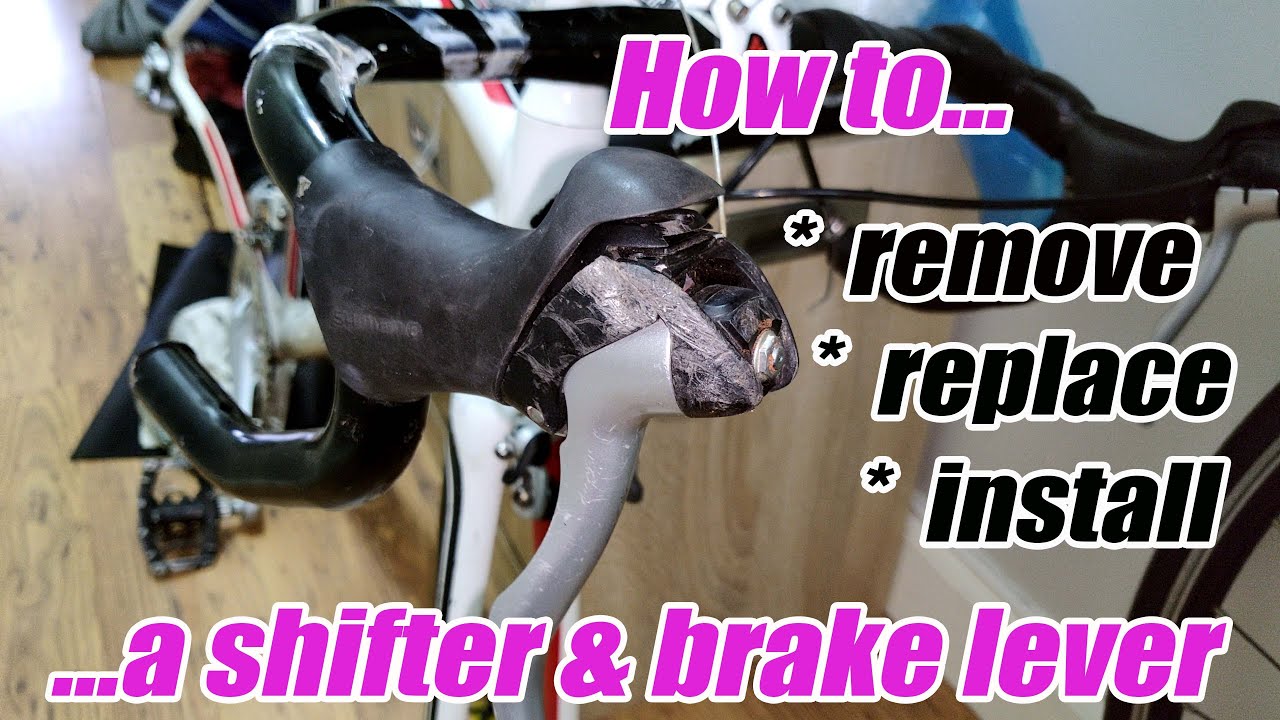
How to Replace a Brake Lever on Your Bicycle: A Step-by-Step Guide
Bicycle brake levers are essential components that allow you to control your speed and stop safely. Over time, they can become damaged, worn out, or simply not perform as well as they used to. Replacing a brake lever might seem daunting, but with the right tools and a bit of patience, it’s a task you can easily accomplish at home. This comprehensive guide will walk you through each step, ensuring you can confidently replace your bicycle brake lever and get back on the road.
Why Replace Your Brake Lever?
Before diving into the replacement process, it’s important to understand why you might need to replace your brake lever in the first place. Here are some common reasons:
- Damage: Accidents or falls can damage the lever, making it difficult or impossible to use. Cracks, bends, or breaks in the lever are clear indicators that it needs replacing.
- Wear and Tear: Over time, the pivot points in the lever can wear down, causing the lever to feel loose or wobbly. This can affect braking performance and safety.
- Corrosion: Exposure to the elements can cause corrosion, particularly on older bikes. Rust and corrosion can weaken the lever and make it difficult to operate.
- Upgrading: You might want to upgrade to a higher-quality brake lever for improved performance, ergonomics, or aesthetics. There are many aftermarket levers available that offer better grip, adjustability, and overall feel.
- Compatibility: If you’re changing brake types (e.g., from cantilever to V-brakes), you may need to replace the levers to ensure compatibility.
Tools and Materials You’ll Need
Gathering the necessary tools and materials before you start will make the replacement process much smoother. Here’s what you’ll need:
- New Brake Lever: Choose a replacement lever that is compatible with your bike’s brake type (e.g., V-brake, cantilever, caliper, disc brake) and handlebar diameter.
- Allen Wrench Set: Most brake levers are attached with Allen bolts. A set of Allen wrenches of various sizes is essential.
- Screwdriver: You might need a Phillips or flathead screwdriver for adjusting cable tension or removing certain types of brake levers.
- Cable Cutter: A good cable cutter is crucial for cleanly cutting the brake cable without fraying it. A dull cutter can make the job much harder.
- Pliers: Pliers can be useful for gripping and manipulating the brake cable.
- Brake Cable and Housing (Optional): If your brake cable is frayed, corroded, or damaged, it’s a good idea to replace it along with the lever.
- Cable End Crimps: These small metal caps prevent the brake cable from fraying after it’s cut.
- Rag or Shop Towel: To wipe away dirt and grease.
- Lubricant (Optional): A small amount of lubricant can help ease the installation of the new lever and cable.
- Work Stand (Recommended): A work stand makes it easier to work on your bike by holding it securely in place.
Step-by-Step Guide to Replacing Your Bicycle Brake Lever
Follow these steps carefully to ensure a successful brake lever replacement.
Step 1: Prepare Your Bike
Start by placing your bike in a work stand if you have one. This will make the job much easier. If you don’t have a work stand, lean your bike against a wall or have someone hold it steady.
Step 2: Loosen the Brake Cable
Before you can remove the old brake lever, you need to loosen the brake cable. Locate the brake caliper or brake arm and find the bolt or screw that secures the cable. Use an Allen wrench or screwdriver to loosen this bolt, allowing the cable to slacken. You might need to use pliers to gently pull the cable through the clamp.
Step 3: Remove the Old Brake Lever
Locate the bolt or clamp that secures the brake lever to the handlebar. This is usually an Allen bolt. Use the appropriate size Allen wrench to loosen and remove the bolt. Once the bolt is removed, you should be able to slide the old brake lever off the handlebar. If the lever is stuck, try gently twisting it or using a rubber mallet to tap it loose.
Step 4: Remove the Old Brake Cable (If Replacing)
If you’re replacing the brake cable, now is the time to remove it. Carefully pull the brake cable out of the brake lever. It might be necessary to disconnect the cable from the brake caliper or brake arm completely. If the cable is frayed, use cable cutters to trim the end before pulling it through the housing.
Step 5: Install the New Brake Lever
Slide the new brake lever onto the handlebar in the desired position. Make sure it’s oriented correctly and that it feels comfortable in your hand. Tighten the clamp bolt to secure the lever in place. Don’t overtighten it; just snug it up enough to hold the lever in position.
Step 6: Install the New Brake Cable (If Replacing)
If you’re installing a new brake cable, thread it through the brake lever and then through the brake cable housing. Make sure the cable housing is properly seated in the ferrules (the metal caps on the ends of the housing). If the old housing is damaged or corroded, consider replacing it as well.
Step 7: Connect the Brake Cable to the Caliper or Brake Arm
Thread the brake cable through the bolt or clamp on the brake caliper or brake arm. Pull the cable tight to remove any slack, and then tighten the bolt to secure the cable. Be careful not to overtighten the bolt, as this can damage the cable.
Step 8: Adjust Brake Cable Tension
Adjust the brake cable tension using the barrel adjuster on the brake lever or the brake caliper. You want the brakes to engage firmly without the lever pulling all the way to the handlebar. Fine-tune the tension until you achieve the desired braking performance.
Step 9: Test the Brakes
Squeeze the brake lever several times to test the brakes. Make sure they engage smoothly and that the bike stops effectively. Check for any signs of slippage or binding. If the brakes feel spongy, you may need to bleed them (for hydraulic disc brakes) or adjust the cable tension further.
Step 10: Secure the Brake Cable End
Use cable cutters to trim the excess brake cable, leaving a few inches of cable beyond the bolt or clamp. Crimp a cable end onto the end of the cable to prevent it from fraying. This will also make it easier to handle the cable in the future.
Step 11: Final Adjustments and Inspection
Double-check all the bolts and screws to make sure they are properly tightened. Inspect the brake lever and cable for any signs of damage or wear. Take your bike for a short test ride to ensure the brakes are working correctly. Make any final adjustments as needed.
Tips for a Successful Brake Lever Replacement
Here are some additional tips to help you replace your brake lever successfully:
- Take Pictures: Before you start, take pictures of the old brake lever and cable routing. This will help you remember how everything goes back together.
- Work in a Clean Area: Choose a clean, well-lit area to work on your bike. This will make it easier to see what you’re doing and prevent you from losing small parts.
- Don’t Force Anything: If something doesn’t seem to fit or move easily, don’t force it. Double-check that you’re using the correct tools and that everything is aligned properly.
- Use the Right Tools: Using the correct tools will make the job much easier and prevent you from damaging your bike.
- Lubricate Moving Parts: A small amount of lubricant can help ease the installation of the new lever and cable.
- Consult the Manual: If you’re unsure about any step of the process, consult the manufacturer’s manual for your bike or brake lever.
- Seek Professional Help: If you’re not comfortable replacing the brake lever yourself, take your bike to a professional mechanic.
Troubleshooting Common Issues
Here are some common issues you might encounter when replacing a brake lever and how to troubleshoot them:
- Brakes Feel Spongy: This could be due to air in the brake lines (for hydraulic disc brakes) or insufficient cable tension (for cable brakes). Bleed the brakes or adjust the cable tension as needed.
- Brakes Squeal: This could be due to contaminated brake pads or rotors. Clean the pads and rotors with isopropyl alcohol or replace them if necessary.
- Brake Lever Doesn’t Return: This could be due to a sticky pivot point or a kinked brake cable. Lubricate the pivot point or replace the brake cable.
- Brake Cable Fraying: This could be due to a damaged cable housing or a sharp edge on the brake lever. Replace the cable housing and file down any sharp edges on the lever.
- Difficulty Adjusting Cable Tension: This could be due to a corroded barrel adjuster or a tight brake cable. Lubricate the barrel adjuster or replace the brake cable.
Choosing the Right Brake Lever
Selecting the right brake lever is crucial for ensuring optimal performance and comfort. Here are some factors to consider when choosing a replacement brake lever:
- Brake Type: Make sure the lever is compatible with your bike’s brake type (e.g., V-brake, cantilever, caliper, disc brake).
- Handlebar Diameter: Check the handlebar diameter of your bike to ensure the lever will fit properly.
- Material: Brake levers are typically made from aluminum or carbon fiber. Aluminum levers are durable and affordable, while carbon fiber levers are lightweight and offer better vibration damping.
- Ergonomics: Choose a lever that feels comfortable in your hand and provides good grip. Some levers have adjustable reach, allowing you to customize the distance between the lever and the handlebar.
- Adjustability: Look for levers that offer adjustable cable tension and reach. This will allow you to fine-tune the braking performance and comfort.
- Brand Reputation: Choose a lever from a reputable brand that is known for producing high-quality bicycle components.
Maintaining Your Brakes
Proper brake maintenance is essential for ensuring your safety and prolonging the life of your brakes. Here are some tips for maintaining your brakes:
- Inspect Regularly: Regularly inspect your brake levers, cables, and pads for any signs of damage or wear.
- Clean Regularly: Clean your brake levers, cables, and pads with a mild detergent and water. Avoid using harsh chemicals that could damage the components.
- Lubricate Moving Parts: Lubricate the pivot points on your brake levers and calipers with a light oil or grease.
- Replace Worn Parts: Replace worn brake pads, cables, and housing as needed.
- Bleed Hydraulic Brakes: Bleed your hydraulic disc brakes regularly to remove any air from the brake lines.
- Adjust Cable Tension: Adjust the cable tension on your cable brakes as needed to maintain proper braking performance.
Conclusion
Replacing a brake lever on your bicycle is a straightforward task that can be accomplished with the right tools and a bit of patience. By following the steps outlined in this guide, you can confidently replace your brake lever and get back on the road safely. Remember to choose a replacement lever that is compatible with your bike’s brake type and handlebar diameter, and to maintain your brakes regularly to ensure optimal performance and safety. If you’re ever unsure about any step of the process, don’t hesitate to seek professional help from a qualified bicycle mechanic. Happy riding!

